


 行業經驗豐富
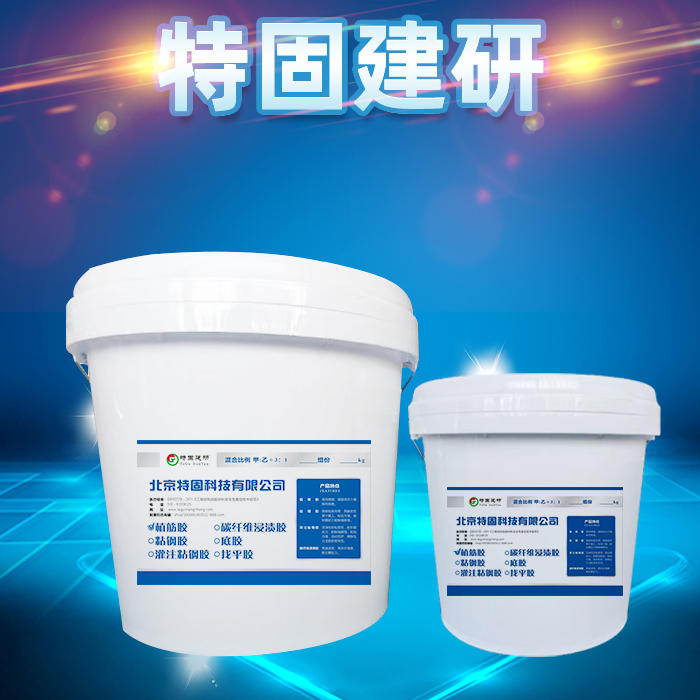
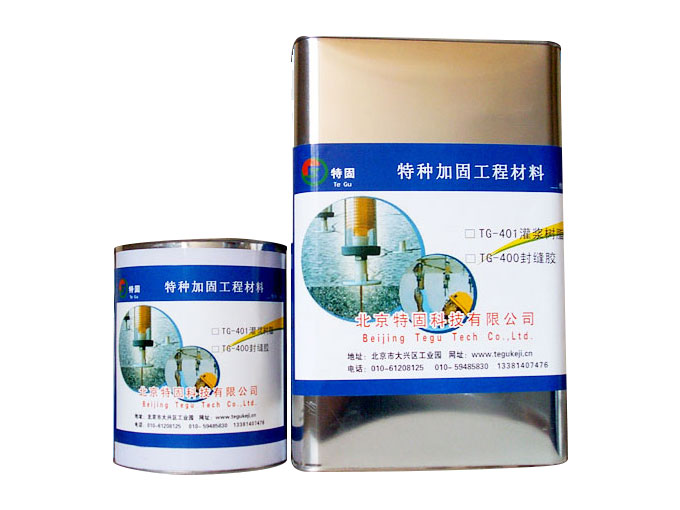
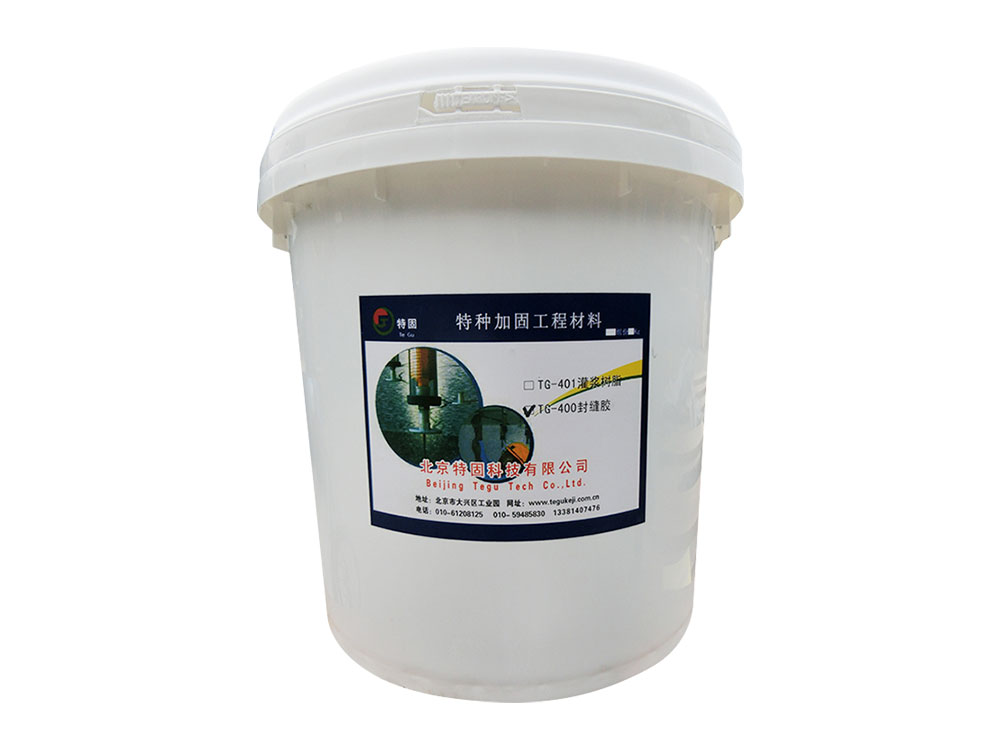
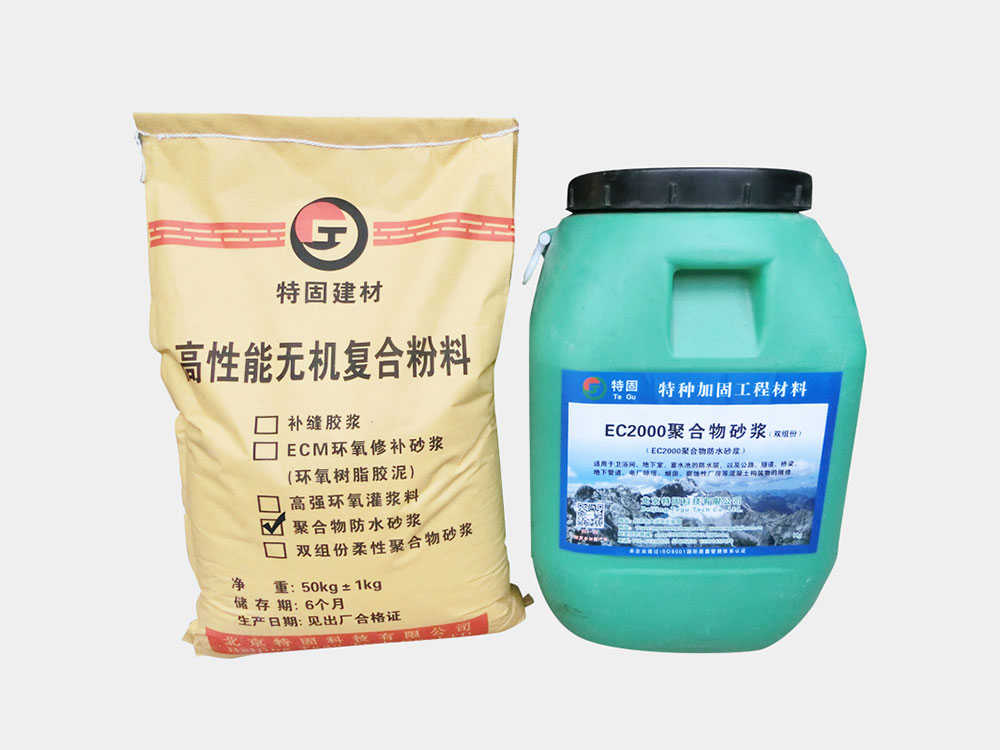
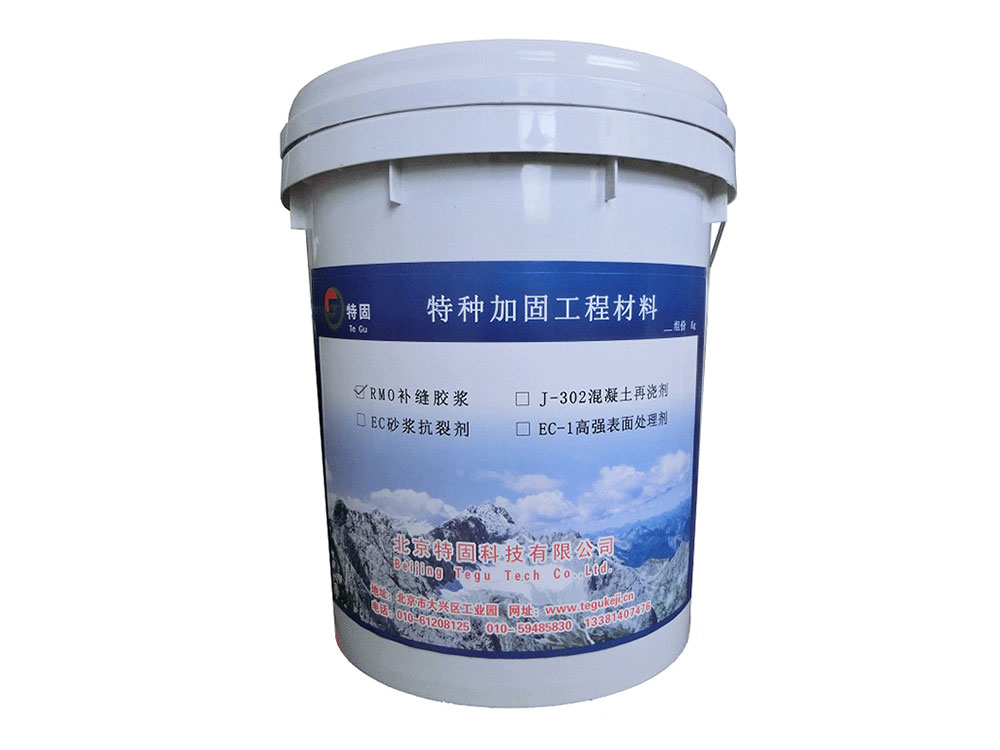
 產品種類齊全
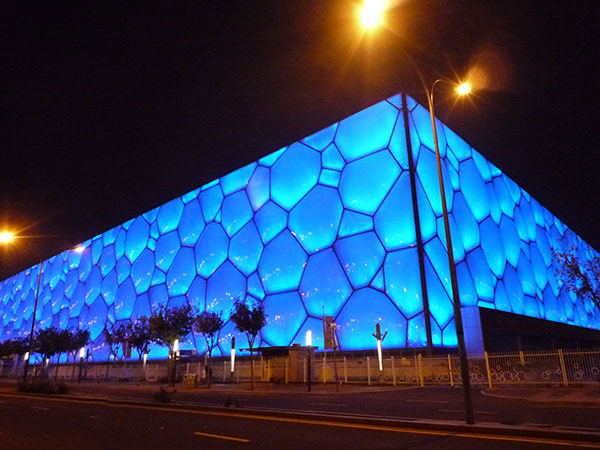
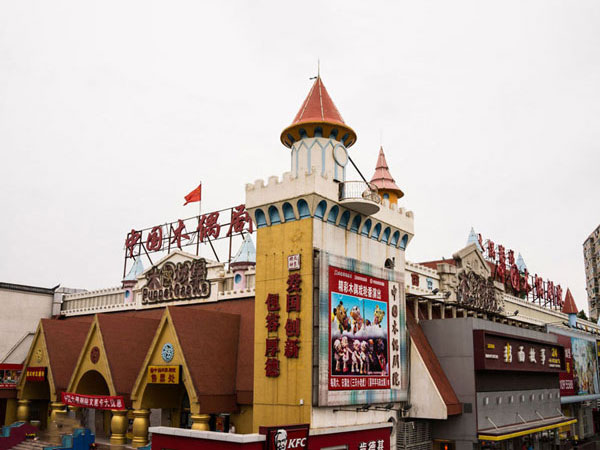
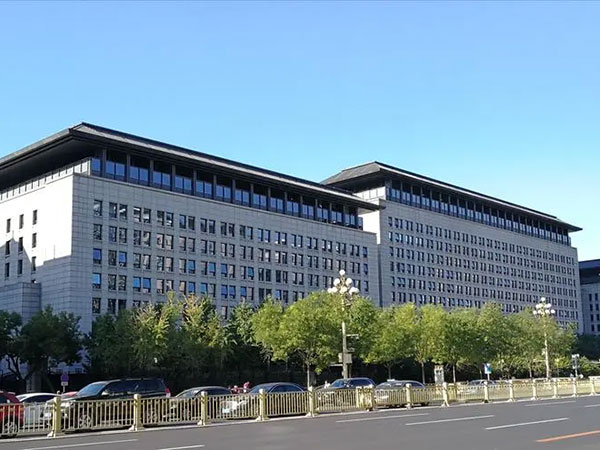
 應用范圍廣泛
 售后服務放心


北京特固建研建筑材料商貿有限公司
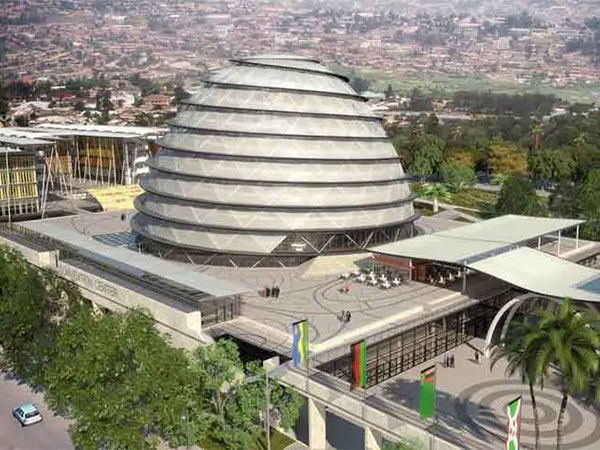
北京特固建研建筑材料商貿有限公司是一家集科研、銷售于一體的加固材料企業,業務范圍廣泛涉及民用建筑、防腐保溫、道路橋梁、工業廠房、電利工程等結構改造的恢復,在粘鋼加固與碳纖維片材補強、鋼筋生根錨固、混凝土裂縫修補、防水堵漏中都有廣泛的應用。
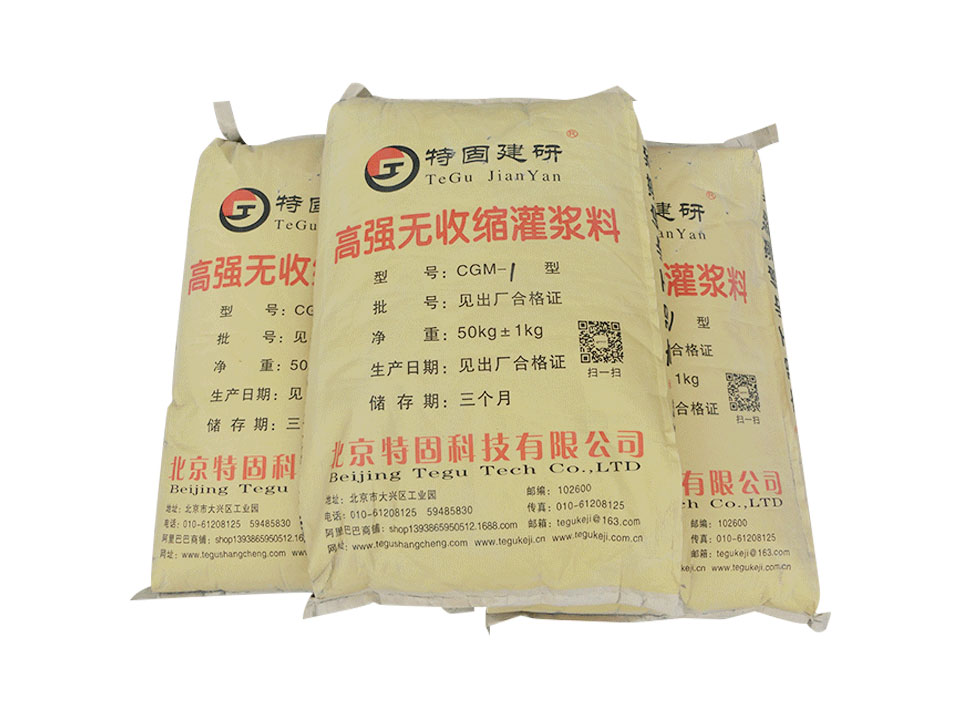
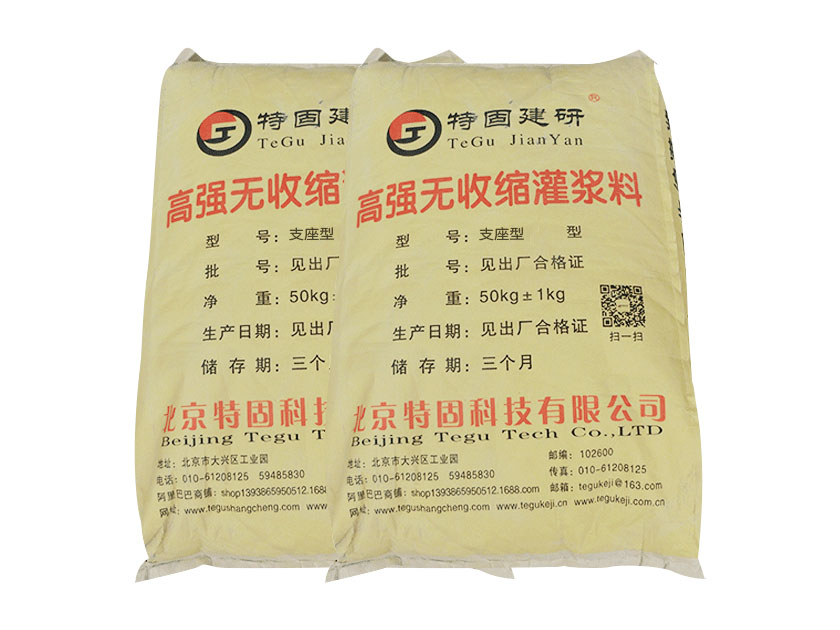
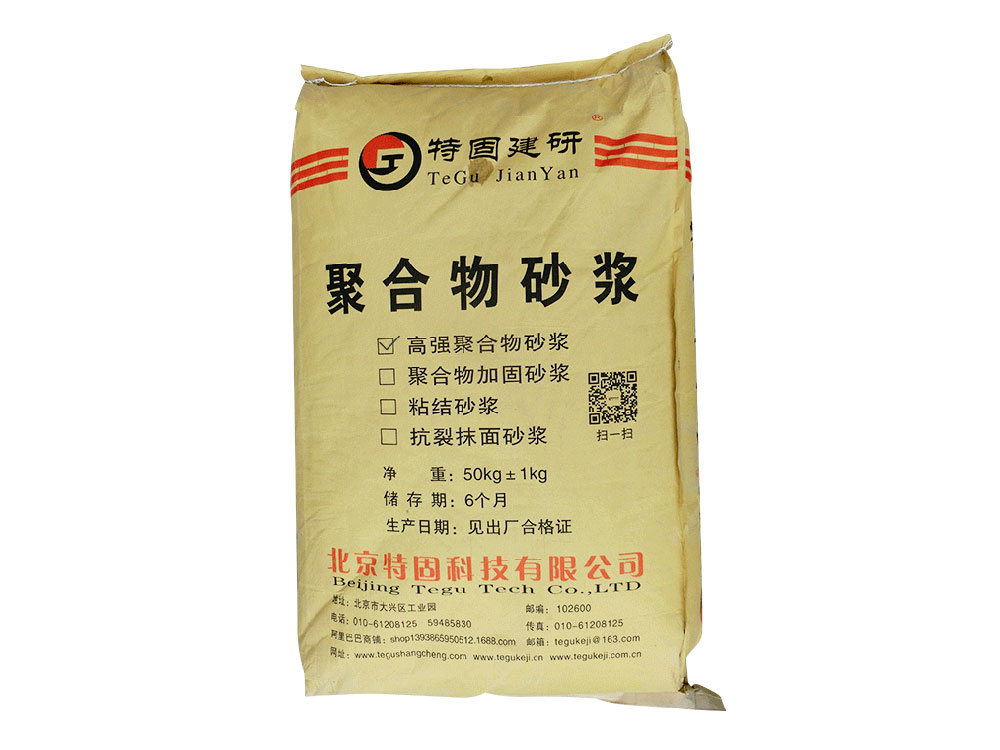
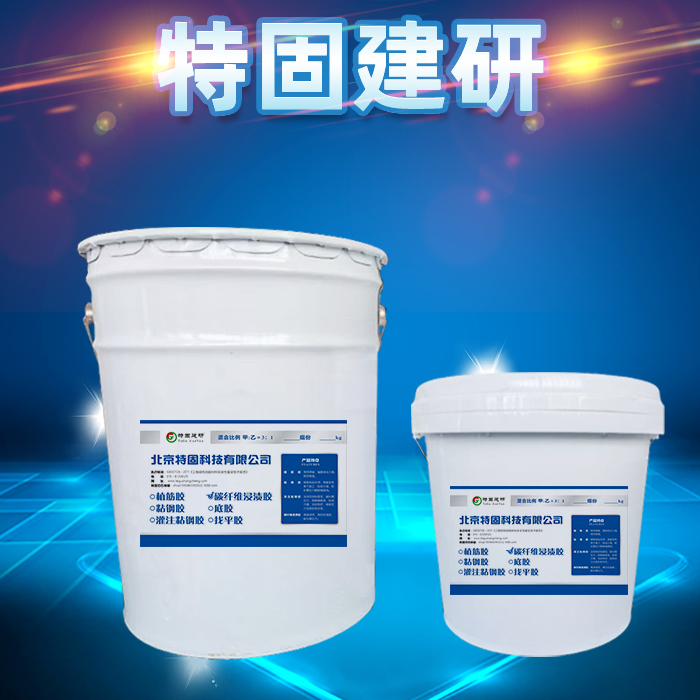
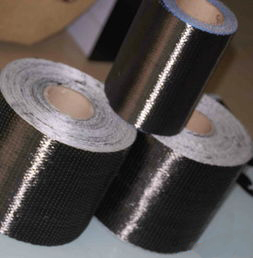
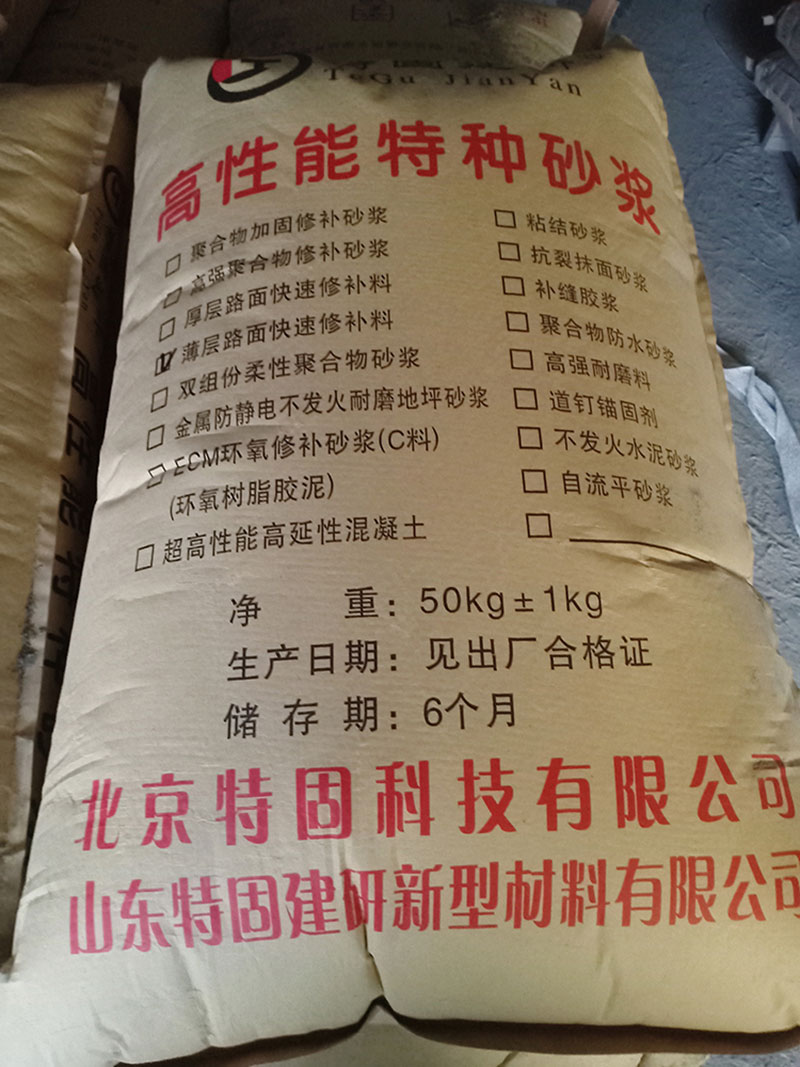
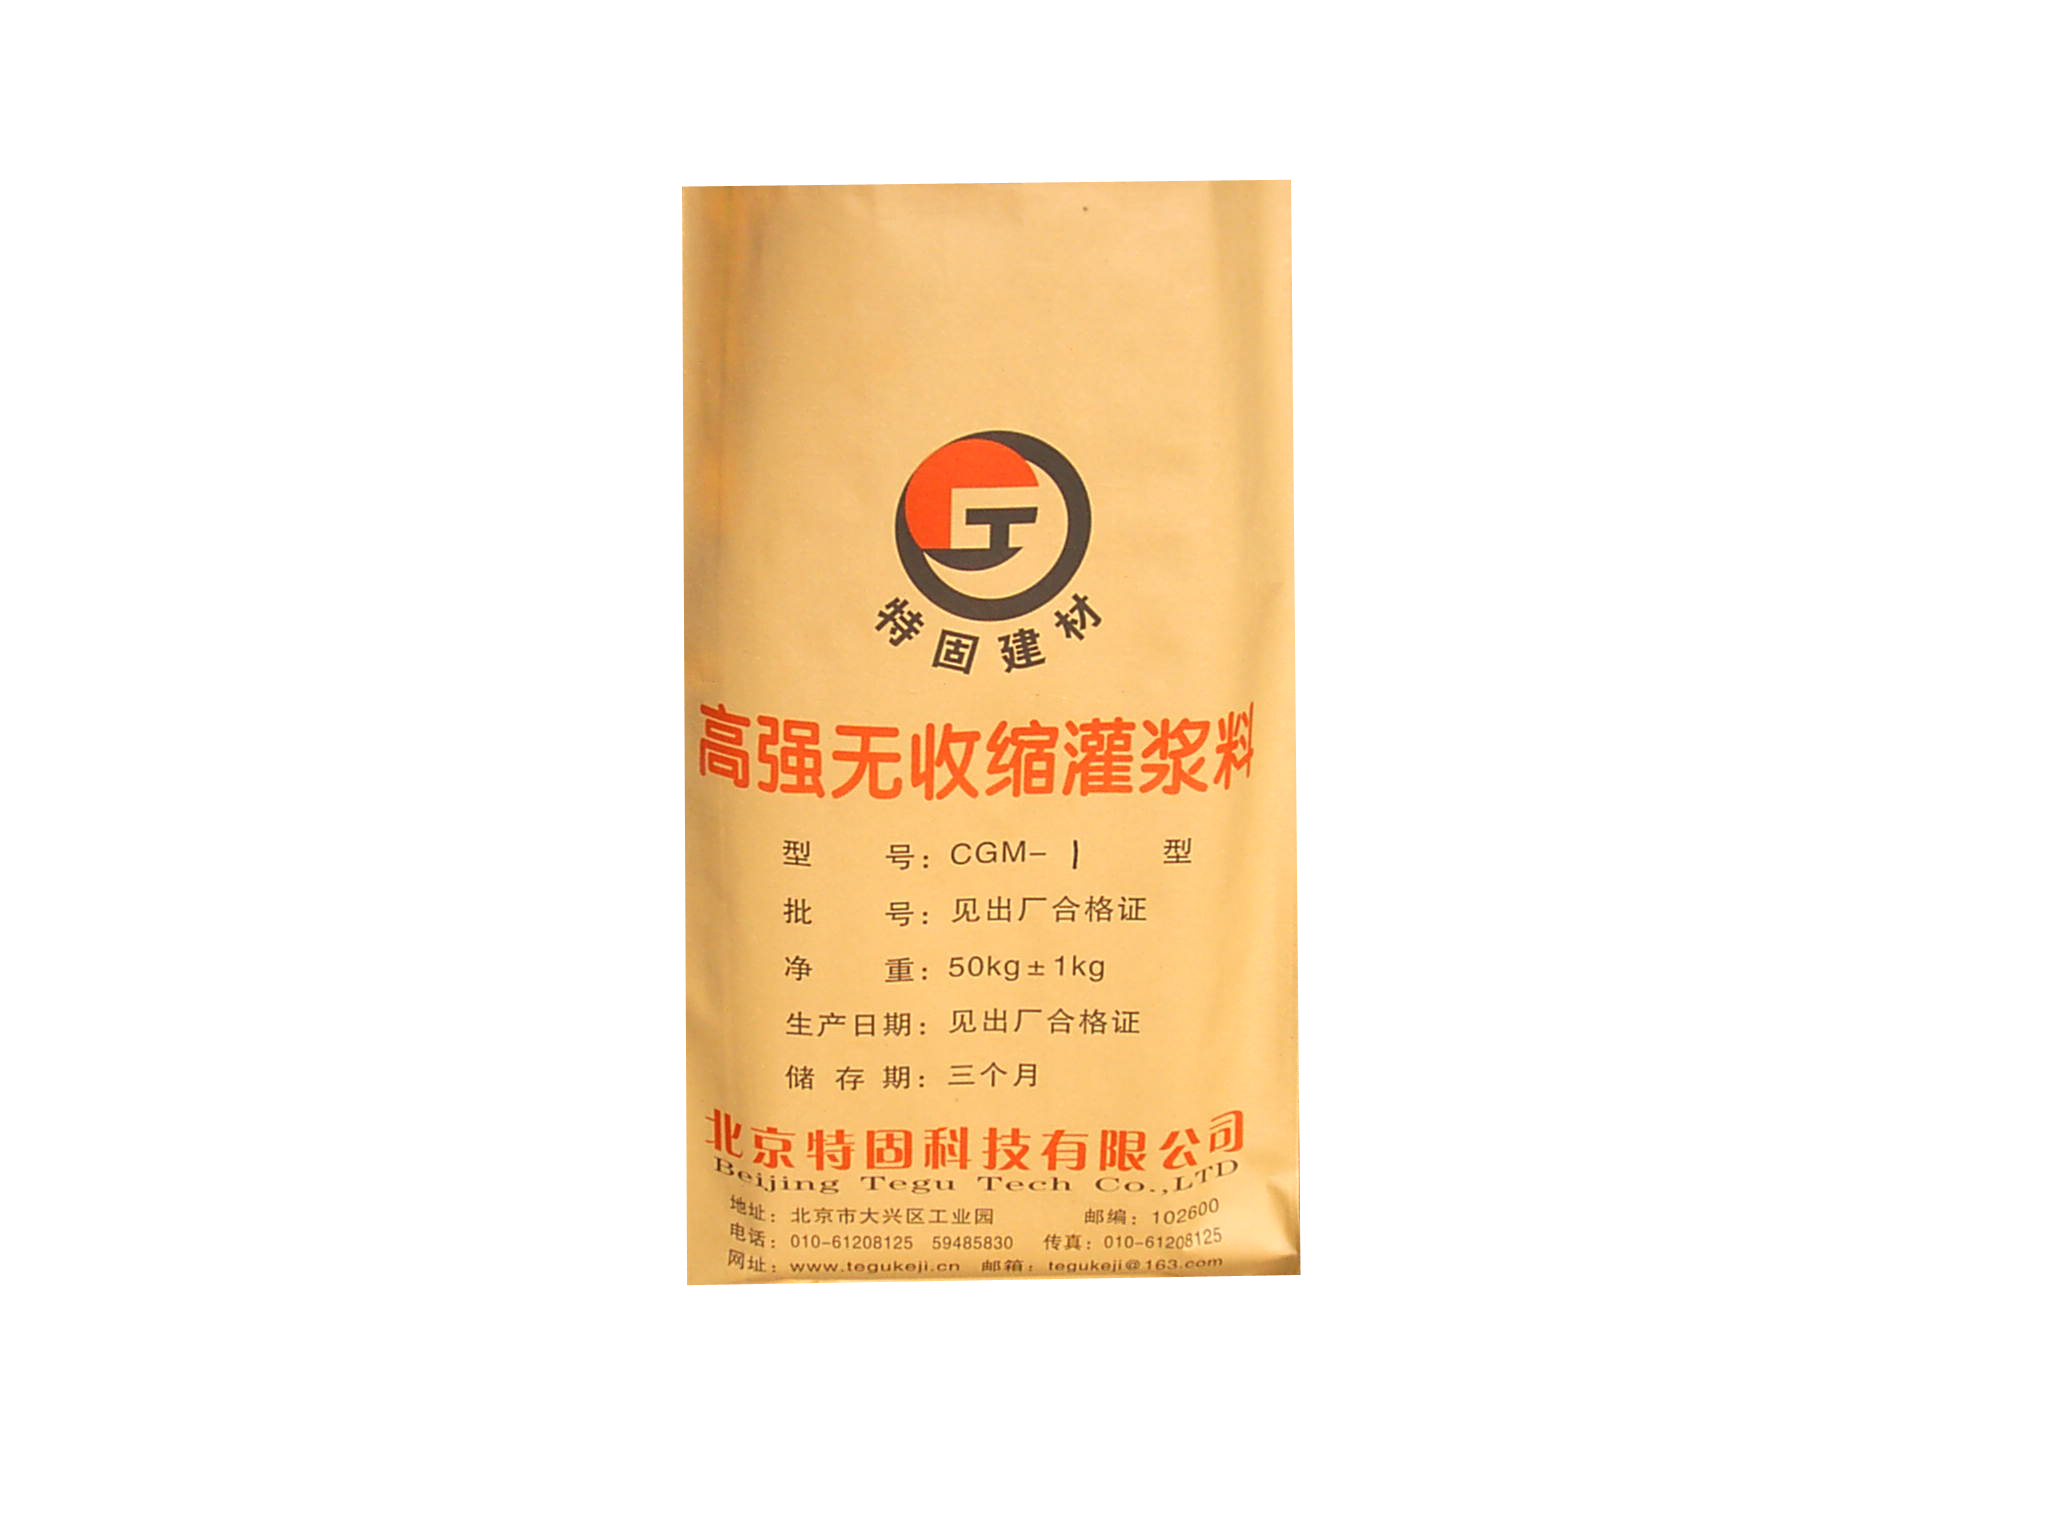
公司主要產品:CGM高強無收縮灌漿料、TG植筋膠、TG粘鋼膠、TG灌注粘鋼膠、TG碳纖維粘合劑、TG灌漿樹脂、自動壓力灌漿器、J-302混凝土再澆劑(加固型界面劑)、ECM環氧修補砂漿(環氧樹脂膠泥)、CGM無機型植筋錨固料、EC2000聚合物加固砂漿、高強修補砂漿、EC2000防水砂漿、BUS柔性水泥嵌縫料、EC砂漿抗裂劑、EC2000聚合物砂漿(雙組份)、EC2000聚合物粘結砂漿、抗裂砂漿、901快速堵漏劑、Z5型瓷磚粘結劑等等。


 用心服務
用心服務


